
1. Clean the Sampling Path After Every Session
Milk residue left in the sampling probe or tubing dries and builds up over time, affecting both flow and sensor accuracy. Running a cleaning solution (or warm water, per your model's manual) through the sample path at the end of each testing session prevents this build-up.
2. Keep the Stirrer and Probe Free of Residue
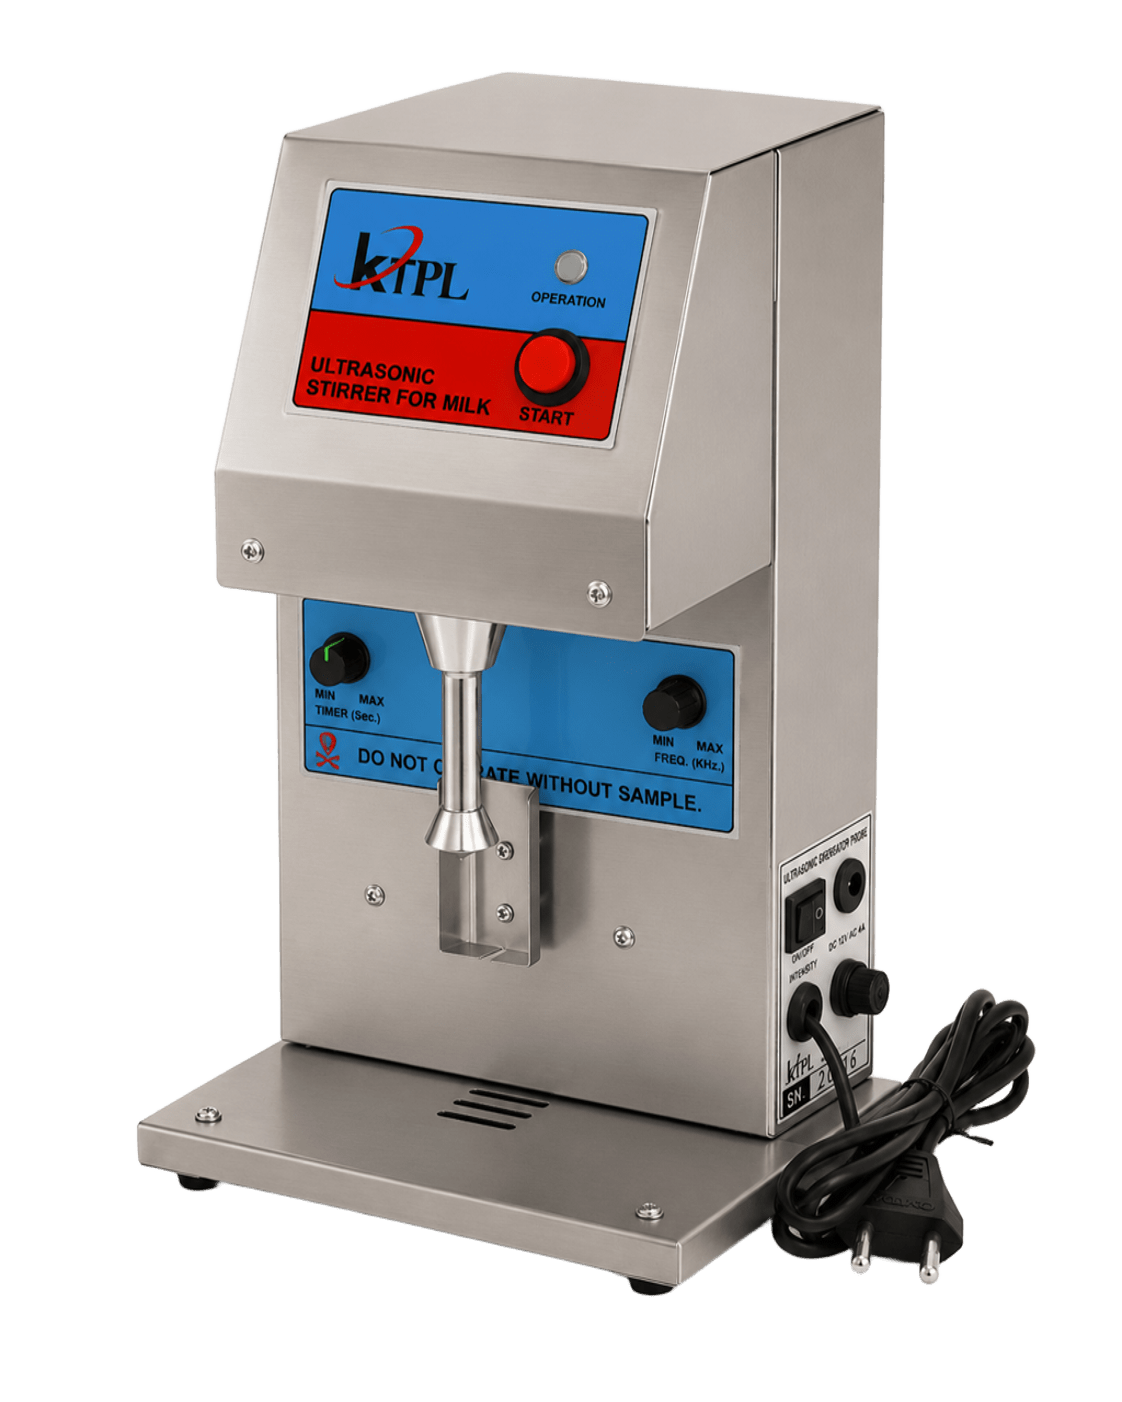
For analyzers with a built-in or side stirrer, wipe down the stirrer blade and probe daily. A film of dried milk on the stirrer can throw off sample mixing and lead to inconsistent FAT/SNF readings between tests.
3. Calibrate on the Manufacturer's Schedule
Most manufacturers recommend calibration at a set interval or after a set number of tests. Skipping calibration is one of the most common reasons dairy farmers report "drifting" readings over several months.
4. Watch the Operating Temperature Range
Most analyzers specify an operating range (commonly 0-50°C) and a milk sample temperature range (often 1-40°C). Testing well outside these ranges - very cold milk straight from a chiller, for instance - can produce unreliable readings even on a well-maintained unit.
5. Protect the Display and Keypad
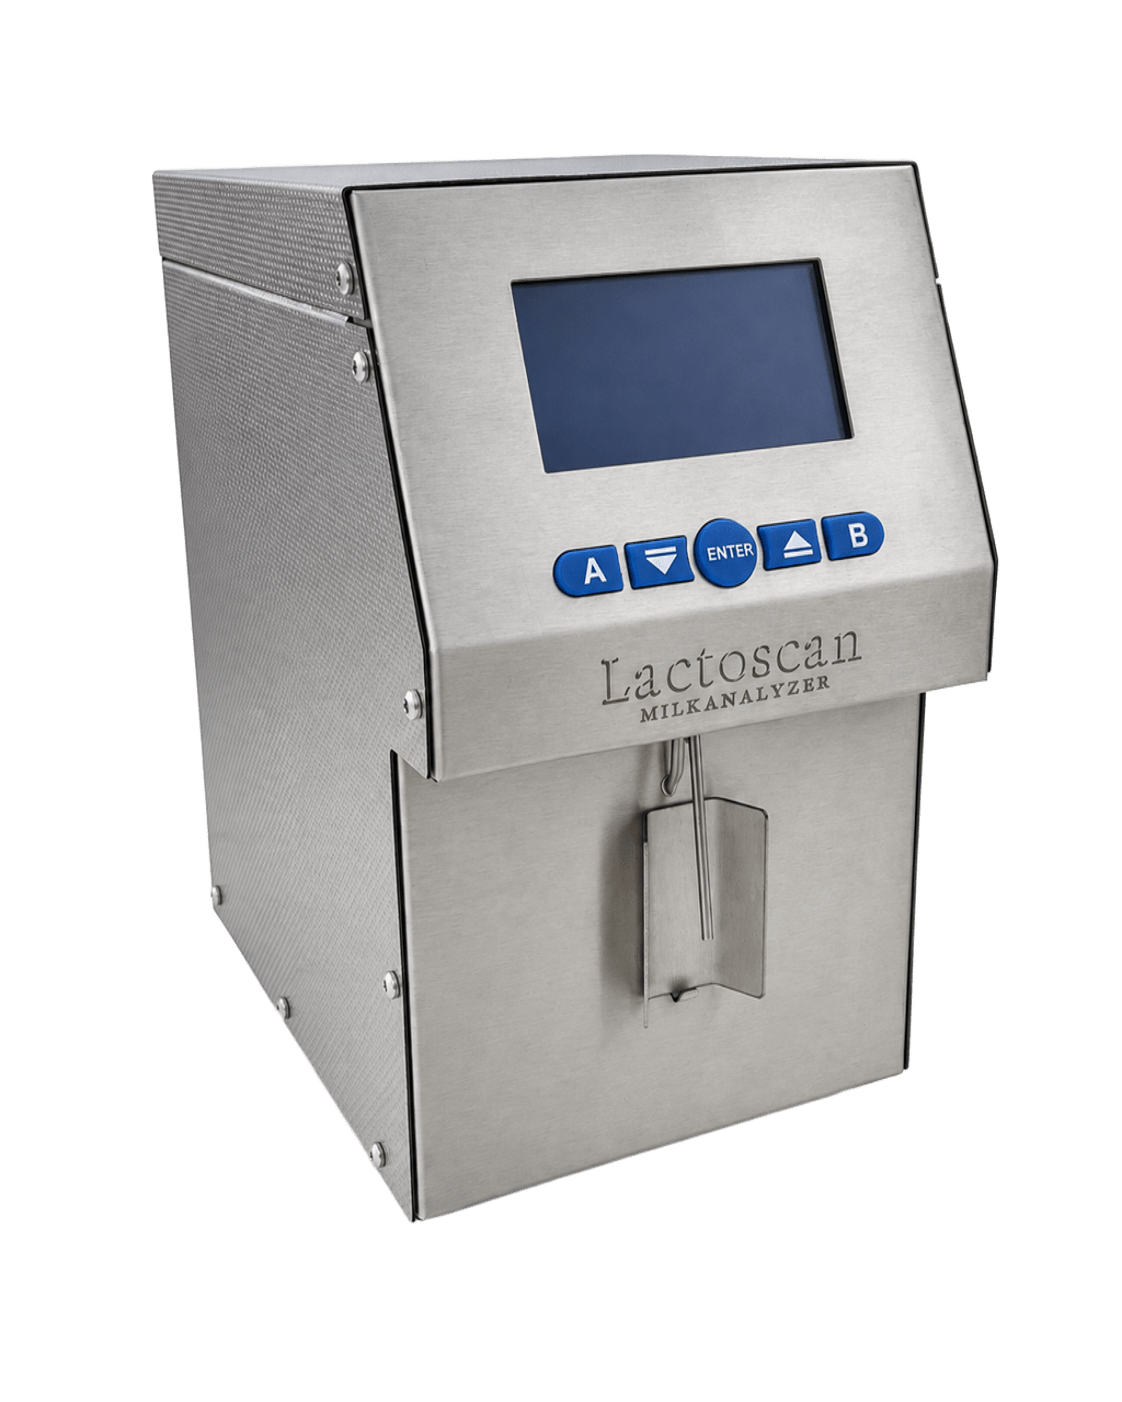
Wipe down touch screens and keypads with a dry or slightly damp cloth - never a wet one - after each shift. Moisture ingress into the display module is a common, avoidable cause of early keypad or screen failure.
6. Store It Properly When Not in Use
Keep the analyzer in a dry, dust-free spot away from direct sunlight when not testing. Extreme storage temperatures outside the manufacturer's stated range can affect both the electronics and sensor accuracy over time.
7. Keep a Simple Maintenance Log
A basic logbook noting cleaning dates, calibration dates and any unusual readings makes it much faster to spot a developing problem - and makes servicing easier when you do call for support.
8. Use Genuine Spare Parts
Sensor PCBs, stirrer motors and display modules are precision components. Using original spares (rather than generic substitutes) keeps the analyzer within its designed accuracy specification.